With Blender 3, you can create 3D models, animate them, simulate realistic physics, create realistic shaders, create visual effects, and even render stunning 3D scenes.

With the latest version of Blender, you can also take advantage of the new VR and AR features, allowing them to create immersive 3D experiences. With all the features and tools available, Blender 3 is a must-have for any 3D content creator.
What is Blender?
3D Blender is a powerful open-source 3D creation suite that allows users to create 3D graphics, animations, and video games.
Blender 3 can perform a wide range of tasks, from simple 3D or 2D model creation to complex 3d simulations, providing a wide range of tools for beginners and professional artists alike.
what’s new in Blender 3.6
Blender is a powerful 3D tool that can perform a wide range of tasks. It has a variety of tools and features, such as:
3D Modeling in Blender 3
3D Modeling: Blender can create a wide range of 3D models, from simple shapes to complex structures. It also features a variety of sculpting tools and a physics engine that allows users to create realistic simulations.
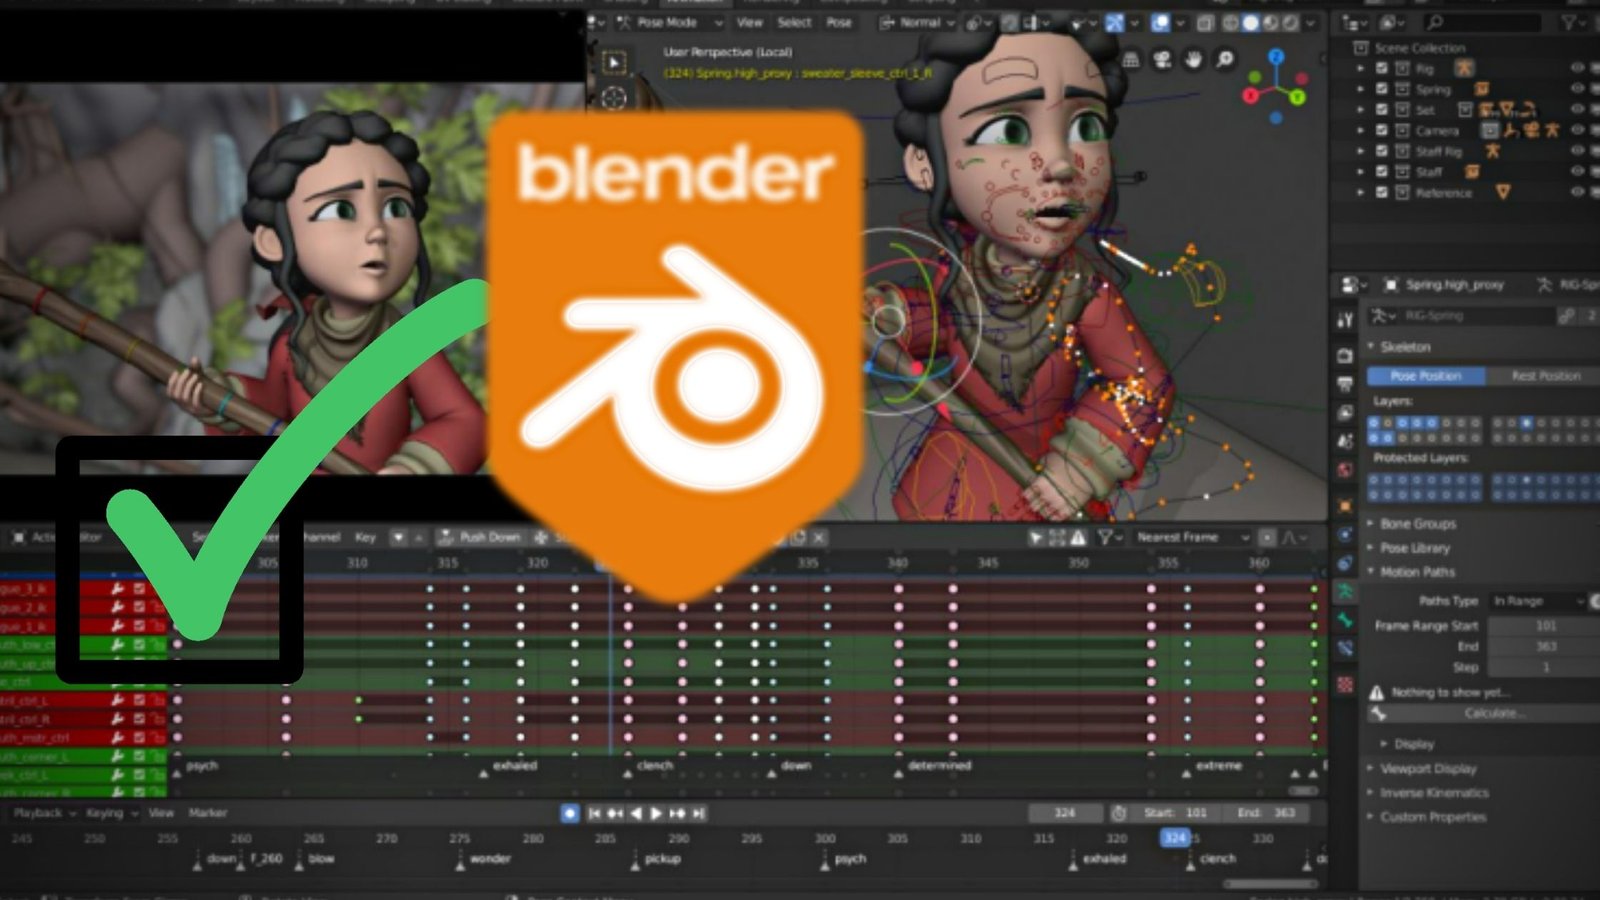
3D Animation in Blender 3
3D Animation: Blender includes a number of animation tools, including keyframes, motion capture, and physically-based animation. It also includes tools for creating special effects such as smoke and fire.
3D Rendering in Blender 3
3D Rendering: Blender includes a variety of rendering options including GPU and CPU rendering, and a variety of rendering engines including Cycles and Eevee.
Video editing in Blender 3
Video editing: Blender includes a number of video editing tools including composite and motion tracking.
Import 3D model into Blender
One useful feature of Blender is the ability to import 3D models from other programs. This paragraph talks about the process of importing 3D models into Blender and the different formats supported. We will also explain the popular STL file format.
Import 3D model on Blender 3
The process of importing a 3D model into Blender is straightforward. Just open the File menu and select the “Import” option. Here you can select the desired file type and then select the file to import. Once the file is imported, you can manipulate it within Blender.
Blender Supported File Formats
Blender supports a variety of 3D model file formats. This includes .obj, .fbx, .dae, .3ds, .stl, and .ple. Each format is optimized for a specific purpose, so it’s important to choose the right format for your needs.
What is an STL file
The STL (stereolithography) file format is one of the most popular 3D model formats. It is the standard file format used for 3D printing and is supported by almost all 3D modeling programs.
The STL format stores only the surface geometry of 3D objects and contains no colors or textures. The advantage of this is a smaller file size and easier transfer. The downside of the STL format is that you cannot easily edit or manipulate objects in Blender.
The STL file format does not support storage of color or texture information. An alternative to these problems is to import or create OBJ and 3MF file formats. Both of these formats support the storage of color and texture information and can be used to transfer 3D models with color and texture information intact.
Modifying 3d model in blender 3.6
Once the 3D model is imported, it can be edited and revised. This can be done by selecting a model and modifying it using the tools on the tool shelf. These tools include move, rotate, and scale tools and other advanced modeling tools.
Printing with a 3D printer
The final step is to print the modified 3D model. This can be done by selecting File > Export > Save As Type, then specifying the file type as an STL file. The detailed printing method of the printer varies from printer company to printer company but follows the outline below.
- sliced.
- G code conversion
- After treatment
- Download and run the slicing software.
Slicing is the process of dividing a 3D model into thin horizontal layers, using special software commonly known as a slicer. The software converts files such as STL into G-code, which is code that the printer can understand.
The G-code file instructs the printer on how to move the print head, the amount of filament in the submission, and other details needed to create the final object. This file can be saved to an SD card or sent directly to a 3D printer. Below is a representative slicing software.
Cura: Developed by Ultimaker, Cura is a popular open-source slicing software that is user-friendly and includes many advanced features. To use Cura for 3D printing, you must first design or download a 3D model in the STL file format. You can then import the STL files into Cura and use the software to adjust various print settings such as layer height, print speed, fill density, and support structure placement.
Prusaslicer: Developed by Prusa Research, Prusaslicer is an open-source slicing software that is highly customizable and includes many advanced features such as multi-material printing support. Usage is similar to Cura.
Simplify3D: Simplify3D is an exclusive slicing software that is highly regarded for its advanced features and capabilities such as customizable support structures, multi-material printing, and detailed printing simulation. Usage is similar to Cura.
- Convert to G-code file
- Open your slicing software like Cura and load your 3D model.
- Adjust print settings and slice models to generate G-code files.
- Enter the G-code through the printer and USB or SD card.
The method of inputting the G-code to the printer can be done through an SD card or USB cable. An example of how to send G-code to a 3D printer using a USB cable.
- Connect the 3D printer to your computer using a USB cable.
- Choose the option to print directly to the connected 3D printer.
- Follow the prompts to load the G-code file and start printing.
In this process, the following detailed settings also exist.
Choose the right 3D printing material: It is important to choose the right printing material for your project. Different materials have different properties and characteristics that can affect the quality and performance of the final 3D print.
Adjust your print settings: Before you start 3D printing, you need to adjust your print settings to get the results you want. This includes adjusting layer height, fill percentage, print speed, temperature, and more.
Build plate level: Before starting a 3D print, it is important to ensure that the build plate is on the ground level. This will ensure that your prints print correctly without any issues.
- Printing is complete.
Once an object is printed, it may require post-processing. This may include removing support structures, sanding, painting, or other finishing touches (smoothing with sandpaper).
Blender is free enough 3D modeling software to create models for 3D printing.
Nowadays, 3D modeling files are available in many places, so Blender can be a powerful tool for creating high-quality 3D printed structures. take advantage


